
Advanced PDF Templates in Netsuite
Category : Uncategorized
The Advanced PDF/HTML Templates feature supports an alternative model for customizing printed and emailed transactions. This model supports more customization capabilities than transaction form layouts, also known as basic layouts.
Enabling advanced PDF/HTML template:
Setup -> Company- > Enable Features

On the Suite Cloud tab, under Suite Builder, ensure that the Advanced PDF/HTML Templates box is checked.
Printing types:
Basic: Associate basic PDF layouts and HTML layouts with the custom form.images are not supported.
Advanced:Associate advanced templates with the custom form. Supported to add images,new features are continuously being added,customize bar code..
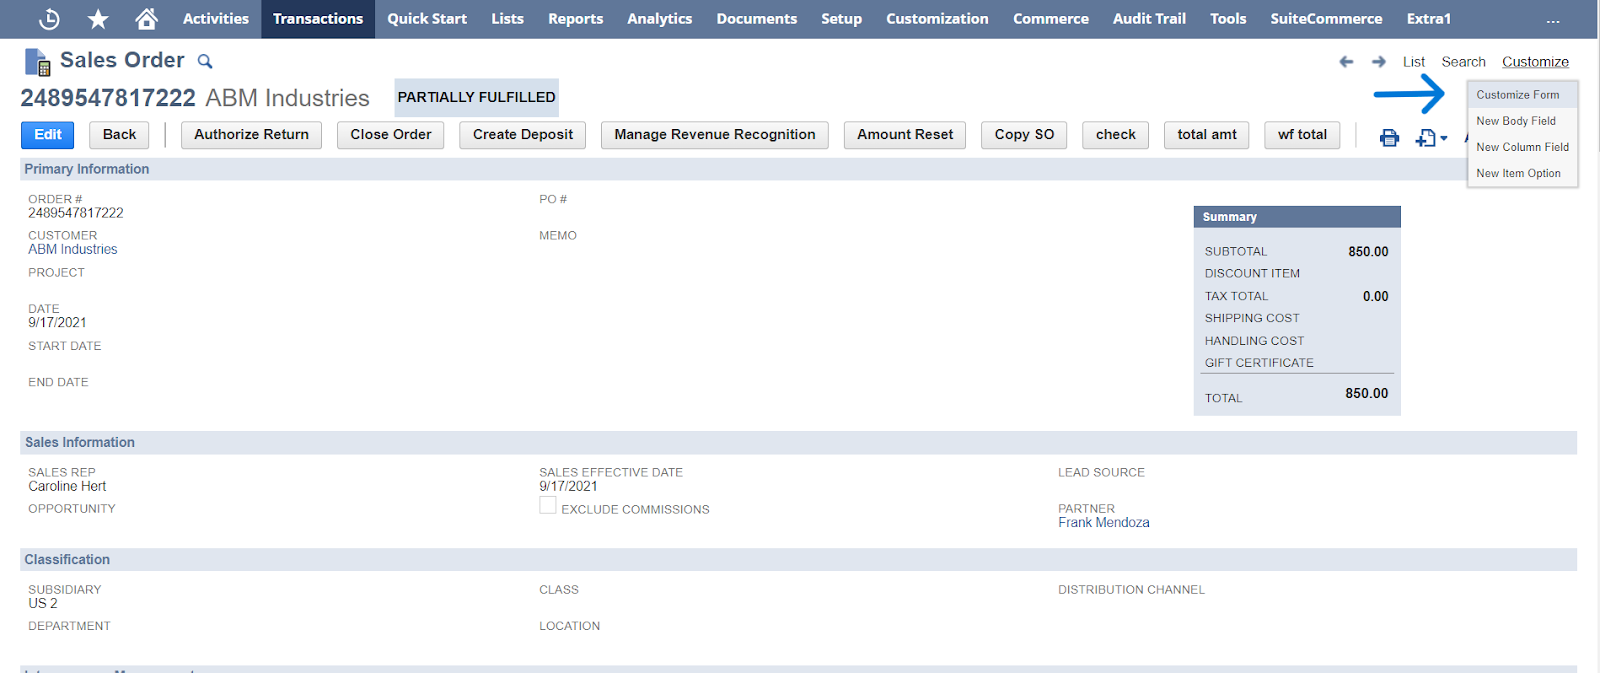
Customization->forms->Advanced PDF/HTML templates.
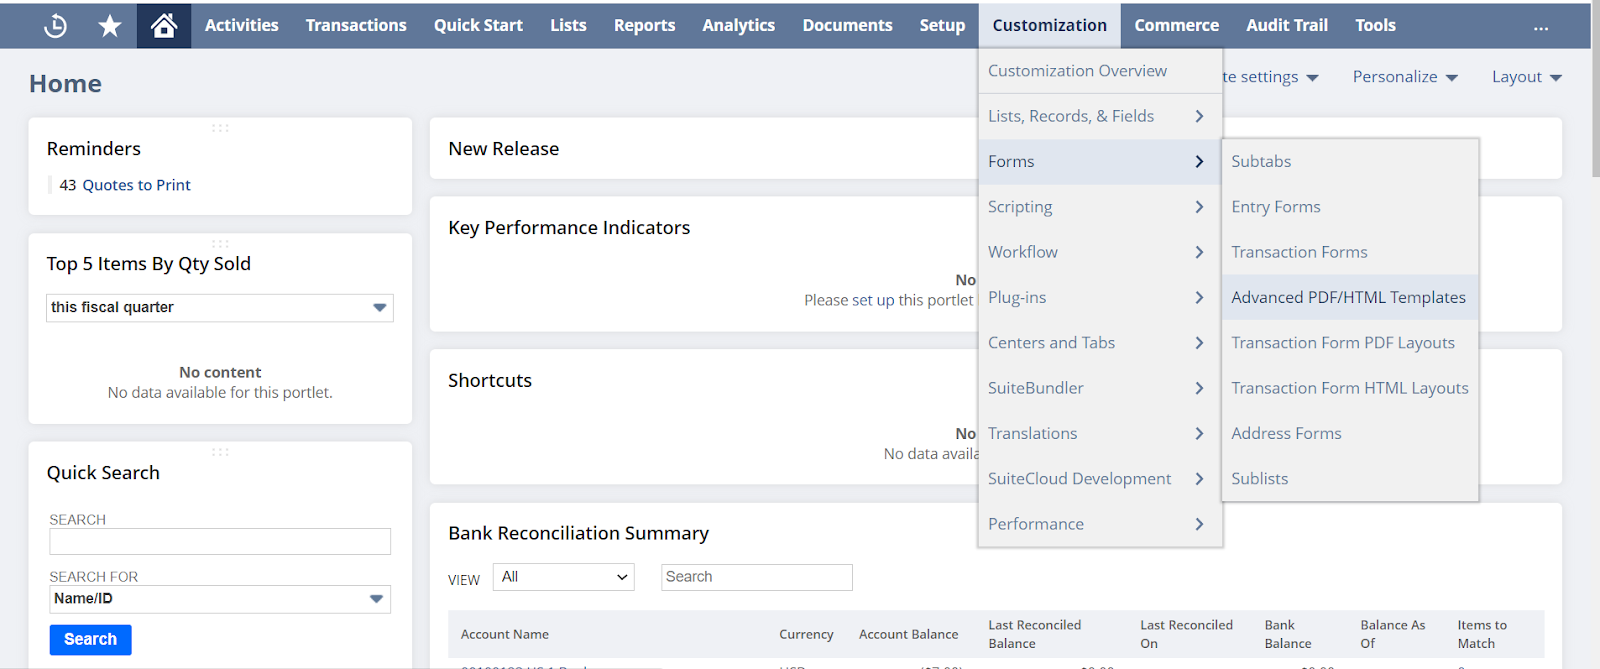
New window popup.
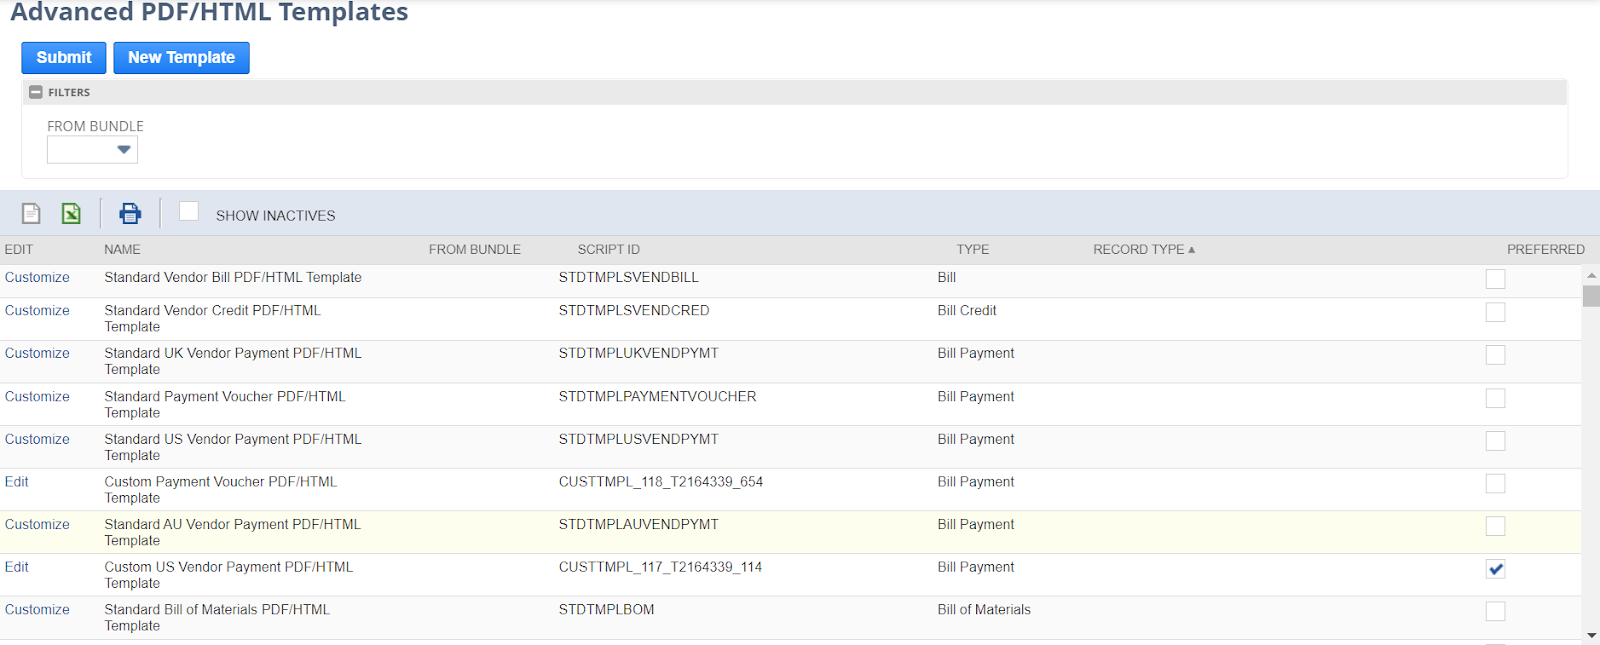
The Advanced PDF/HTML Templates list page includes:
- Standard advanced templates
- Customized advanced templates that have been created in the account. If a customized template has been installed from a bundle, the list also shows the ID of the bundle.
To customize :
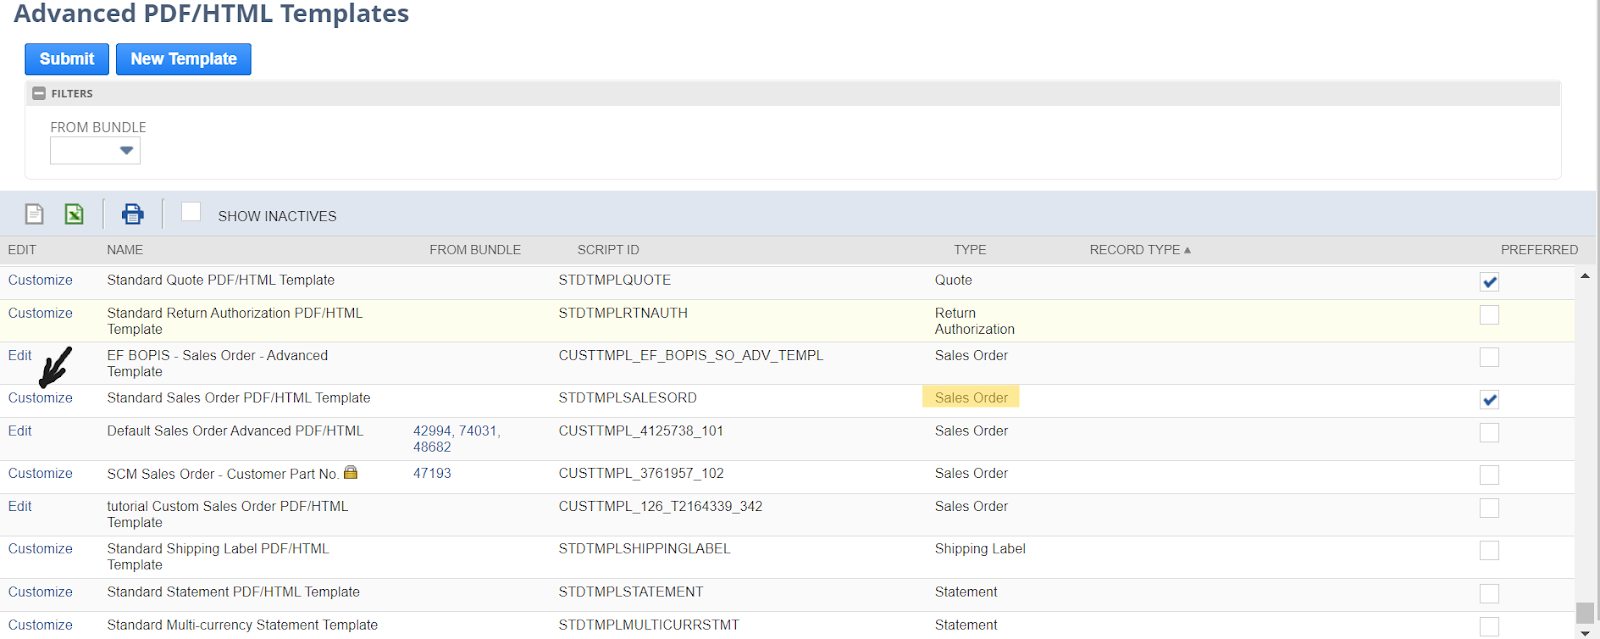
- Click on customize option.
New window :
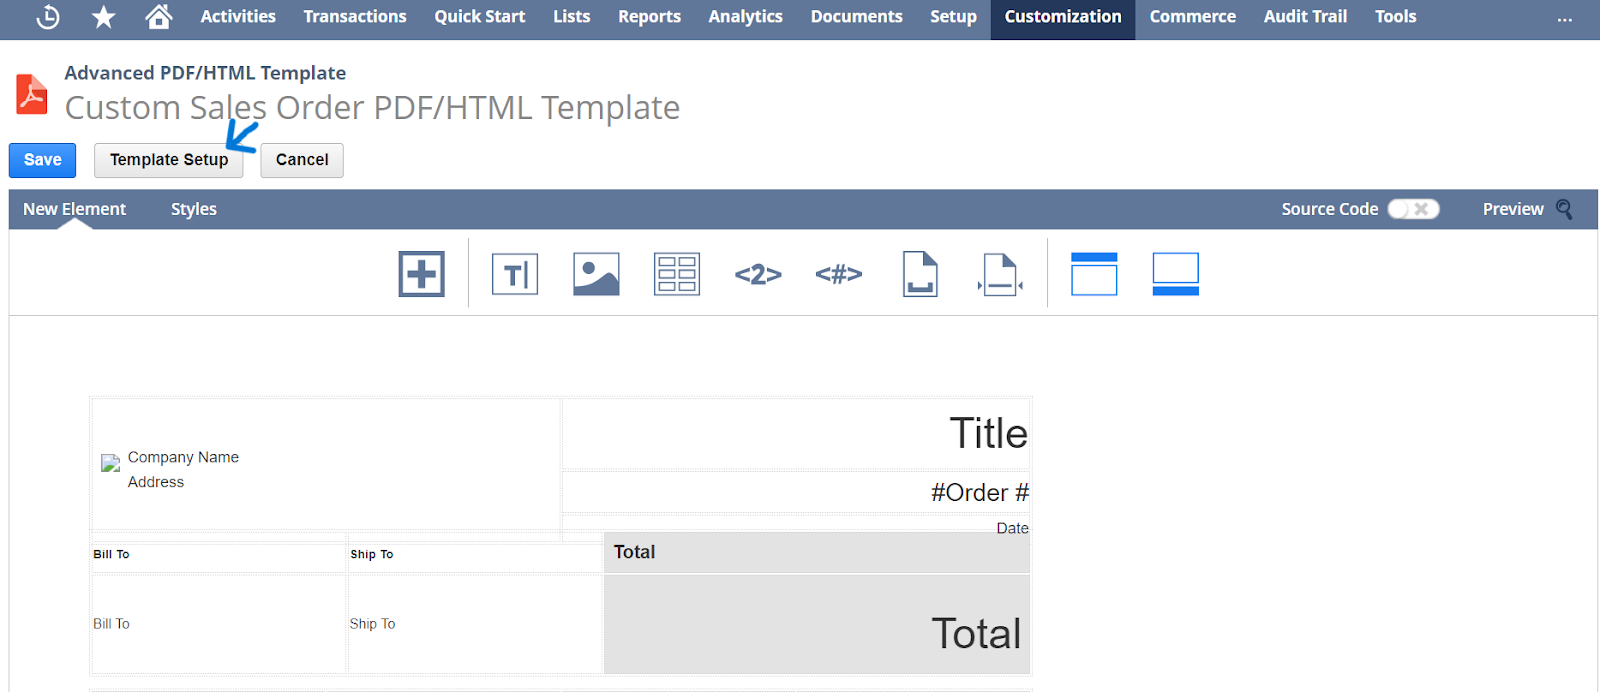
Click template setup:

Give details:
- Title (name)
- Description.
- Whether the template is preferred for the transaction type.
- Script ID, which is assigned automatically if you leave this field blank.
- Layout setup(page orientation , page size etc..).
- Save.

Editing type:
- WYSIWYG Editing in the Template Editor.
- Source Code Editing in the Template Editor.
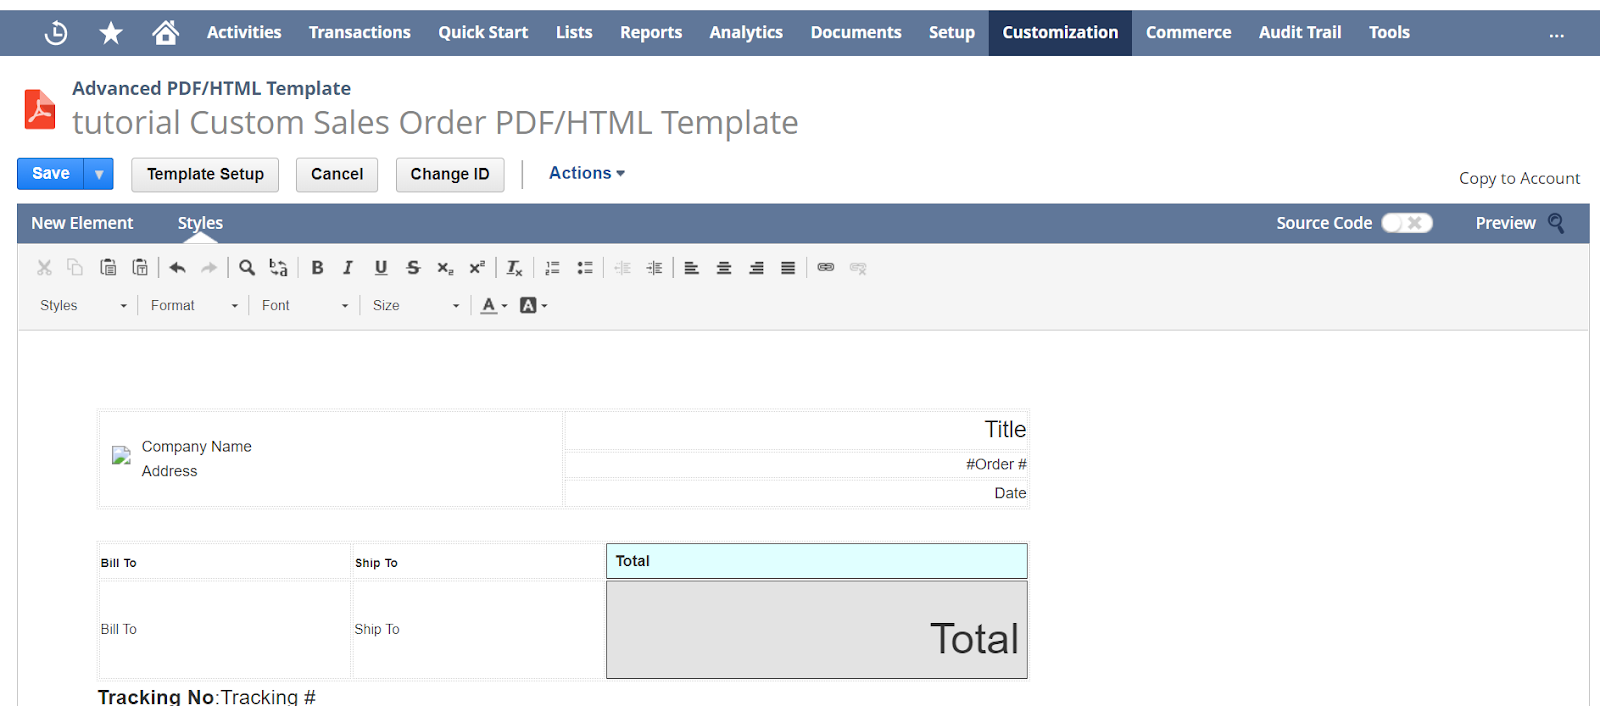
WYSIWYG Editing in the Template Editor:
New element option:

- Add Field button: Add a field to the template.
- Add Text button: Add text to the template.
- Add Image button: Add an image to the template.
- Add Table button: Add a table to the template.
- Add Page Number button:Add the page number to the template.
- Add Total Pages button :Add the total number of pages to the template.
- Add Page Break button:Add a page break to the template. If you want to remove the page breaks, you must switch to Source Code view.
- Add Horizontal Line button:Add a horizontal line to the template.
- Add Template Header Toggle button:Toggle button to remove or add the template header.
- Add Template footer Toggle button:Toggle button to remove or add the template footer.
Style option:
If the Styles toolbar does not appear, select the text that you want to format, and then click Styles. The Styles toolbar will appear with following text formatting functions:
- Formatting Styles,
- Paragraph Formats,
- Font Name,
- Font Size
- Text
- Color
- Background Color.
Source Code Editing in the Template Editor:
- Edit the HTML markup source to customize advanced PDF/HTML template
- We can make template edits directly in this markup source by using HTML.
- Some customization options such as adding a bar code or sublist data to your advanced template must be done by editing the source code.
- Using HTML & CSS. We can edit the source code.
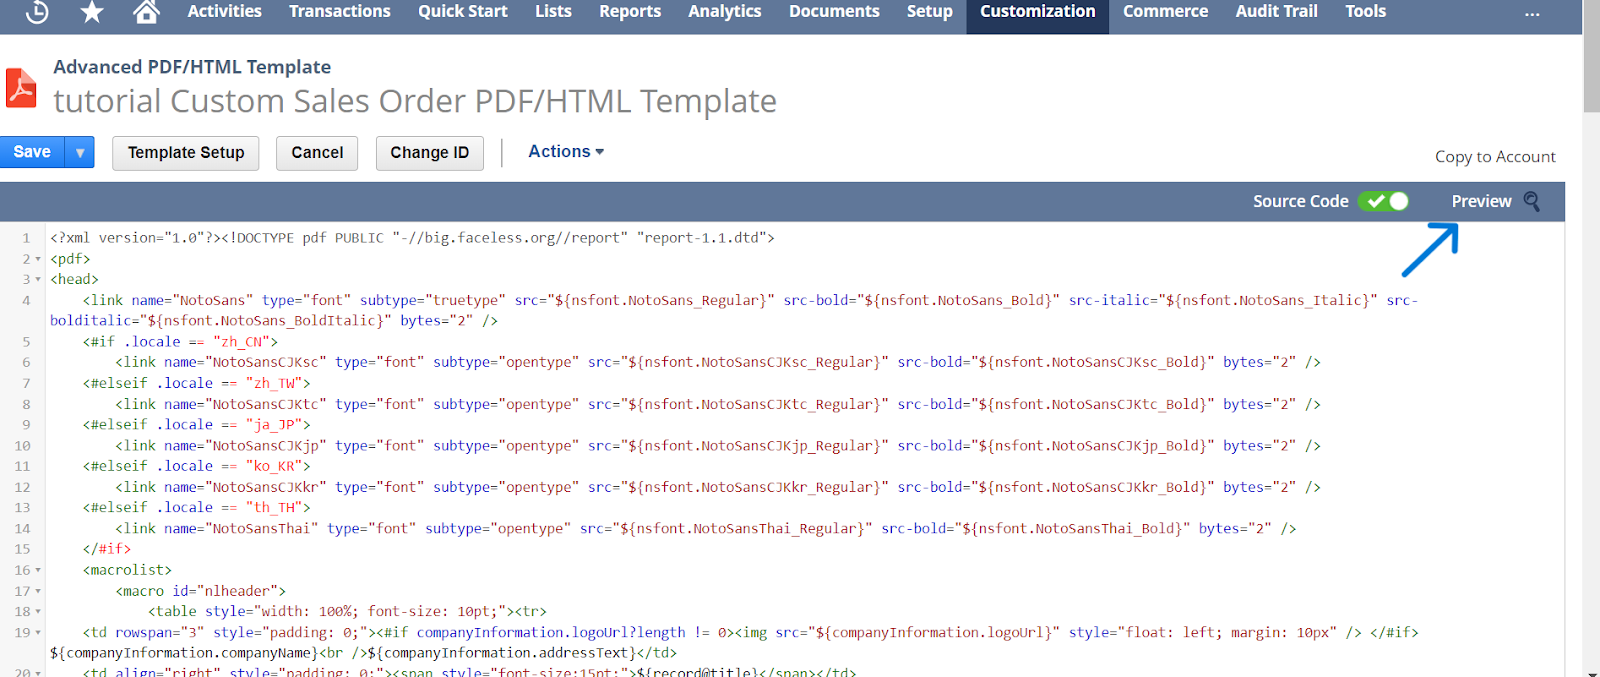
To customize the template enable the source code then HTML page will open.
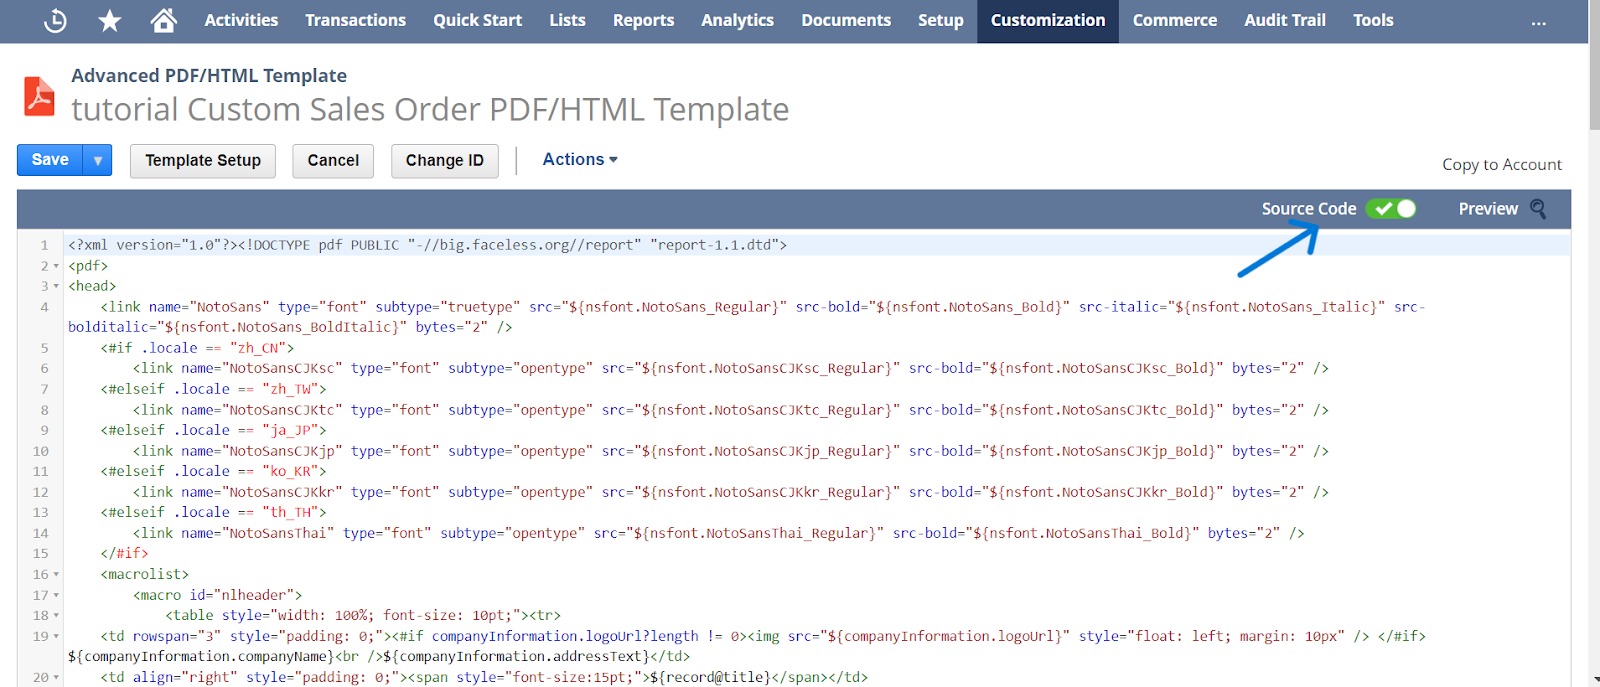
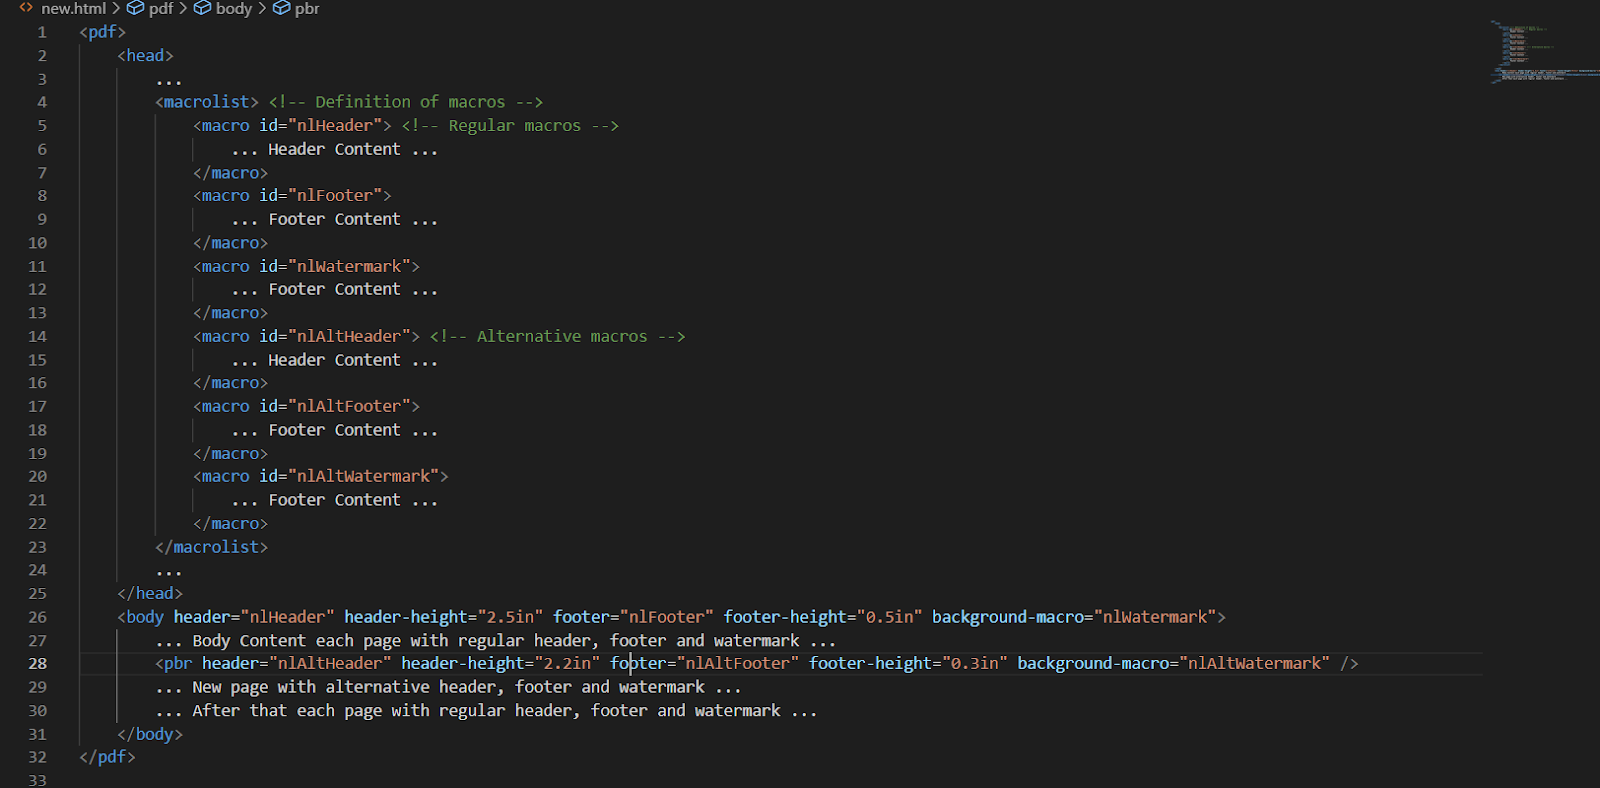
Example for basic code for head, header,footer,watermark,body:
Basic Syntax:
Fields: ${record.fieldId}.
Print the field’s label: ${record.fieldId@label}.
Sublist:for item sublist:
${record.sublistid.fieldId}.
<#list record.item as item>
${item.itemName}
${item.amount}
</#list>
Table: <table style=….>
<tr>…………table row
<th>…data…</th>………………table heading.
…………..
</tr>
<tr>………………next row
<td>……data…..</td>………..data
…….
</tr>
</table>.
Barcode:
<barcode codetype=”qrcode” showtext=”false” height=”150″ width=”150value=”…”/>
After customization:
- Preview
Result:
To conform that new template is using for printing:
Customize-> customize form
Click customization form
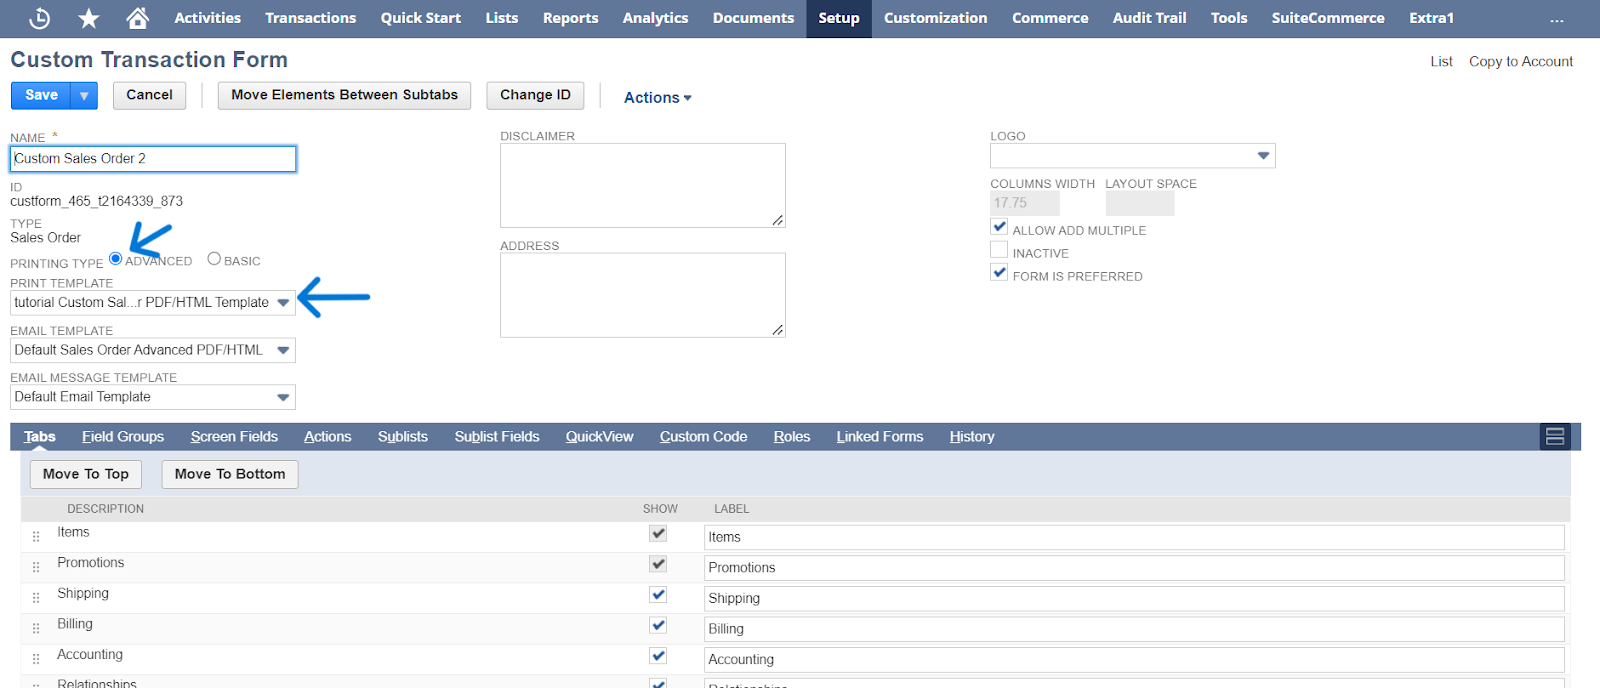
Printing type:advanced
Print template :select the customized template to print.
Email template:select the template to be emailed.