
Use Salesforce Listener In Celigo
Category : Uncategorized
During export data from salesforce via celigo, there are two methods to achieve it.
- Realtime – To fetch data in real-time from salesforce, we use salesforce listener as export
- On-Demand – To fetch data from salesforce on-demand, we use SOQL(Salesforce Object Query Language) query as the export method.
Salesforce real-time data fetch
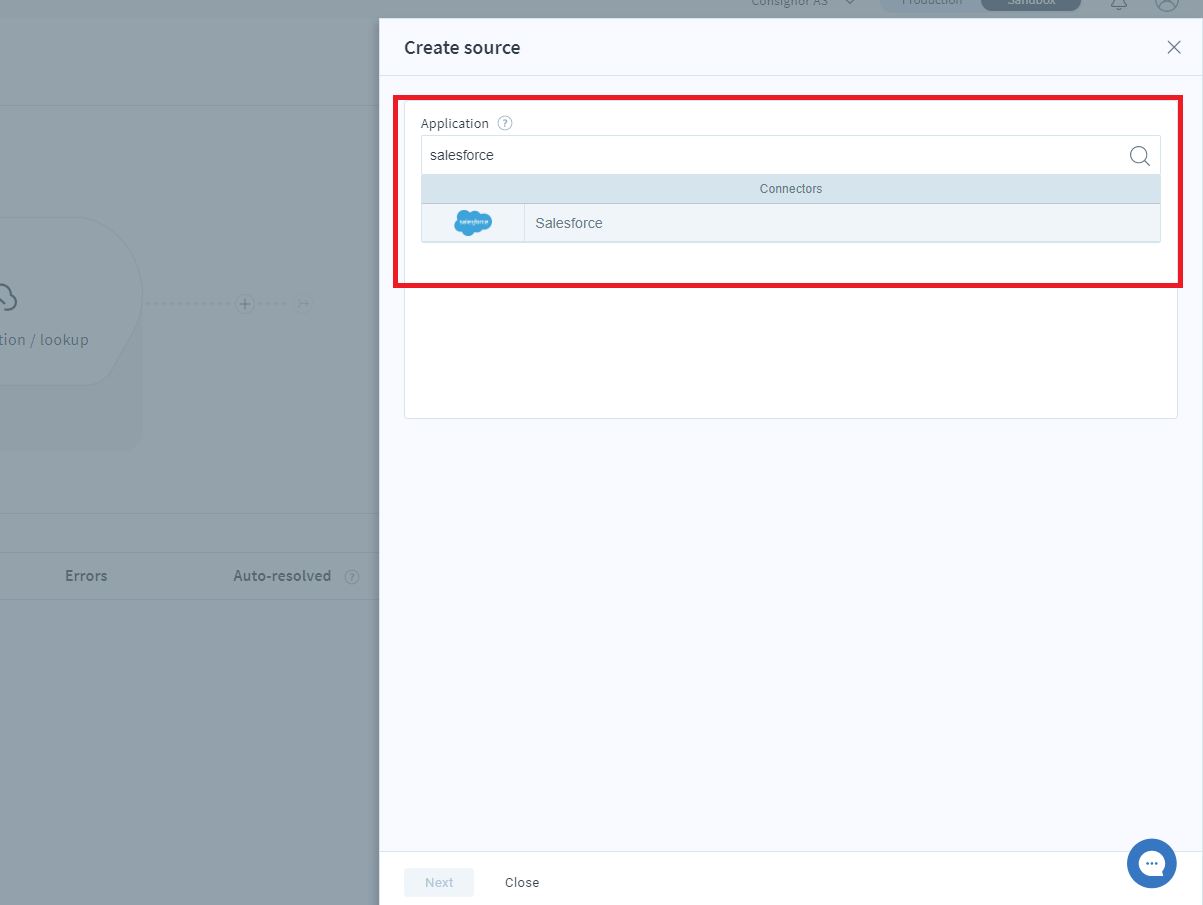
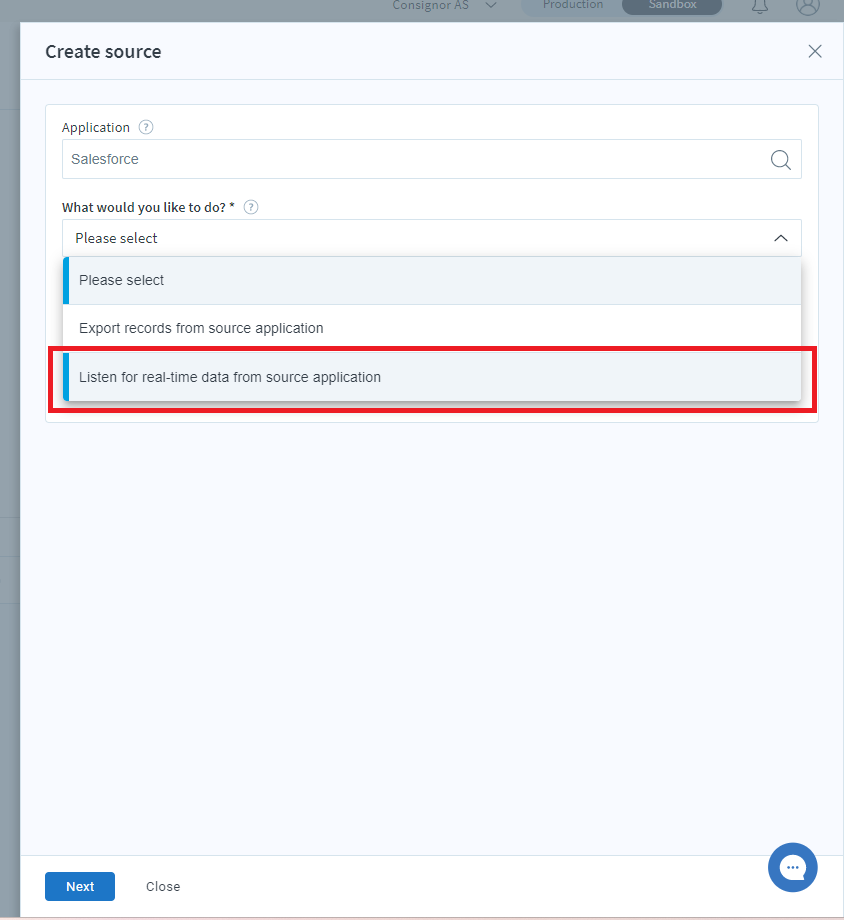
- Select salesforce as your source application, and select your export method as ‘Listen for real-time data from source application’
- On the export page, fill up the Name and sObject type
Name – The name you wish to give for your export
sObject type – Here you need to select the type of salesforce record that you want to get data in real-time
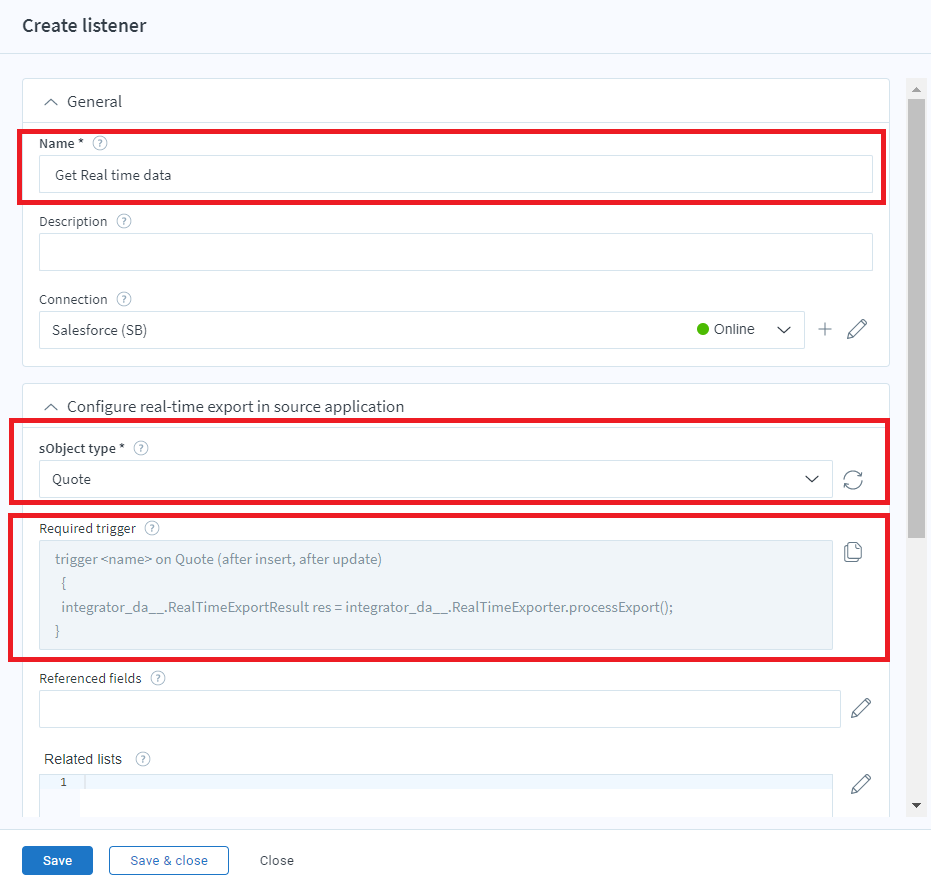
After selecting the sObject type, you can see that the Required trigger field is populated with a code containing the sObject type you selected.
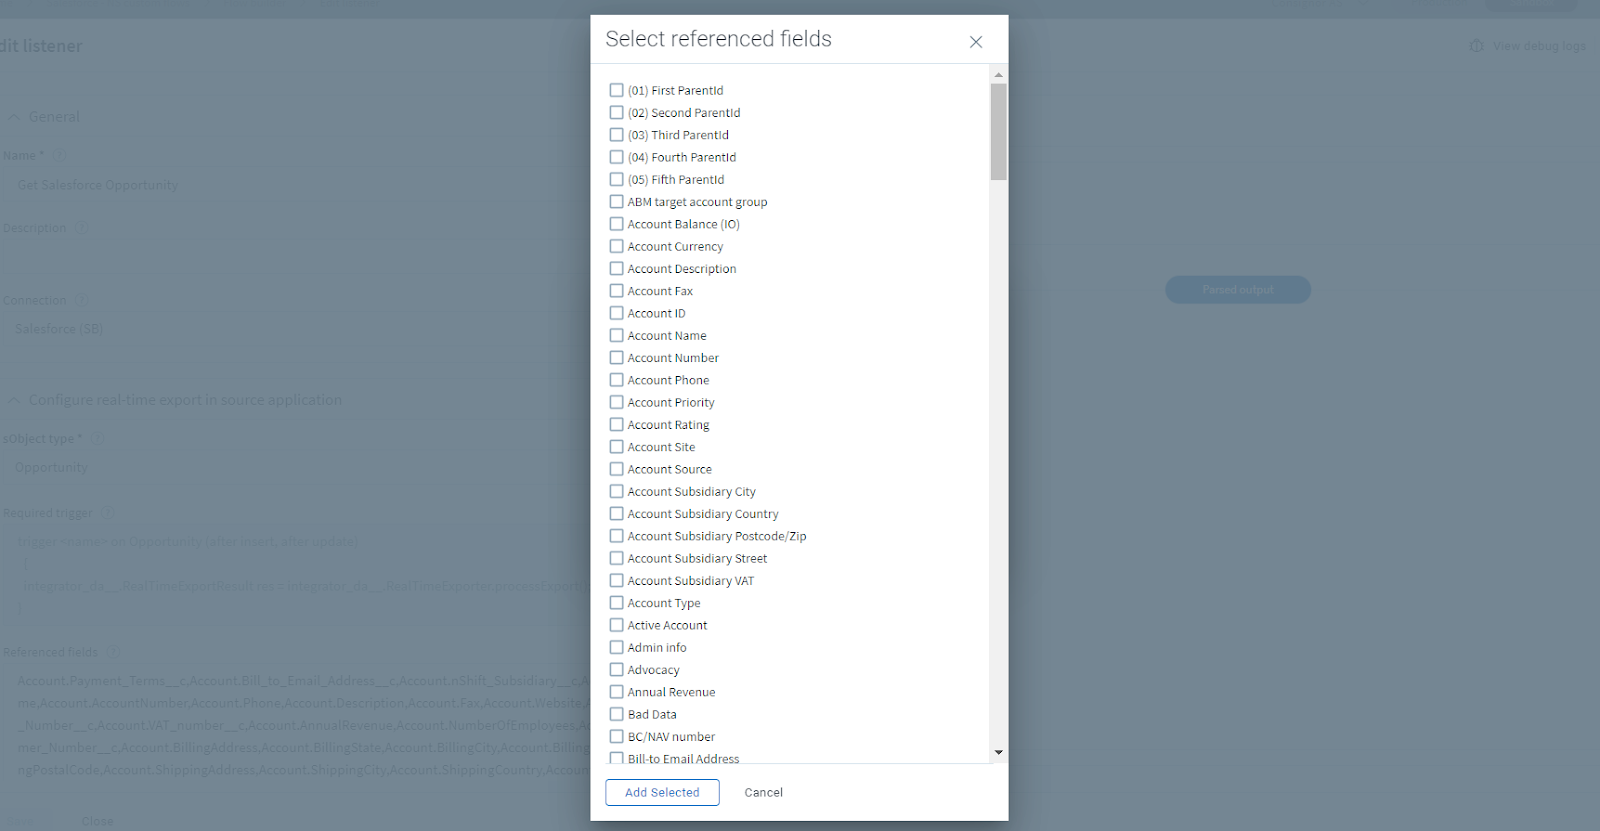
- Generally, this listener data will contain all the fields available in your selected sObject type. If you need to fetch additional information about the related fields available on your object (eg – account, owner, etc), you need to configure the Referenced fields in your export
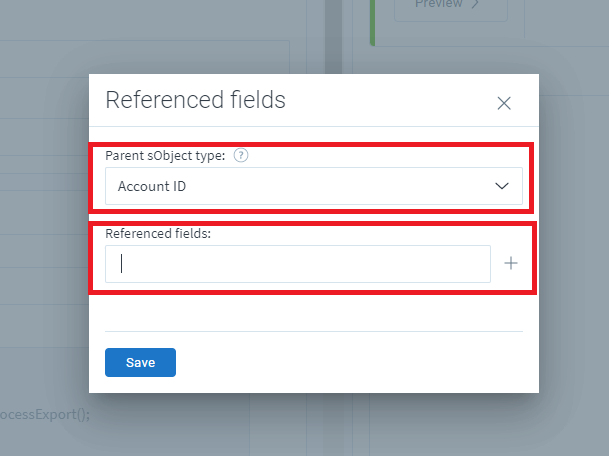
On the Parent sObject type dropdown, you can see the available related fields to select. Once you selected any of the values, you can select the fields you needed from that related record from the Referenced fields section
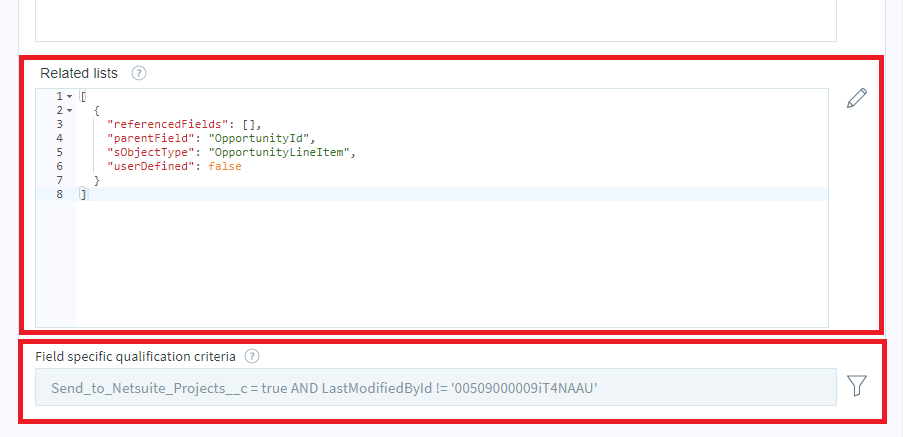
Below the referenced fields section, you will find a field to select the sublist related to your object. You can select one or more sublists to make available the data with your listener data
Also, you can define the qualification criteria for your record fetching through the listener. Only the records satisfying the specified criteria will reach the listener
After setting up your celigo export, You need to configure a Trigger in salesforce. Like webhooks used in some systems, salesforce uses triggers to invoke the listener when needed.
To configure a Trigger
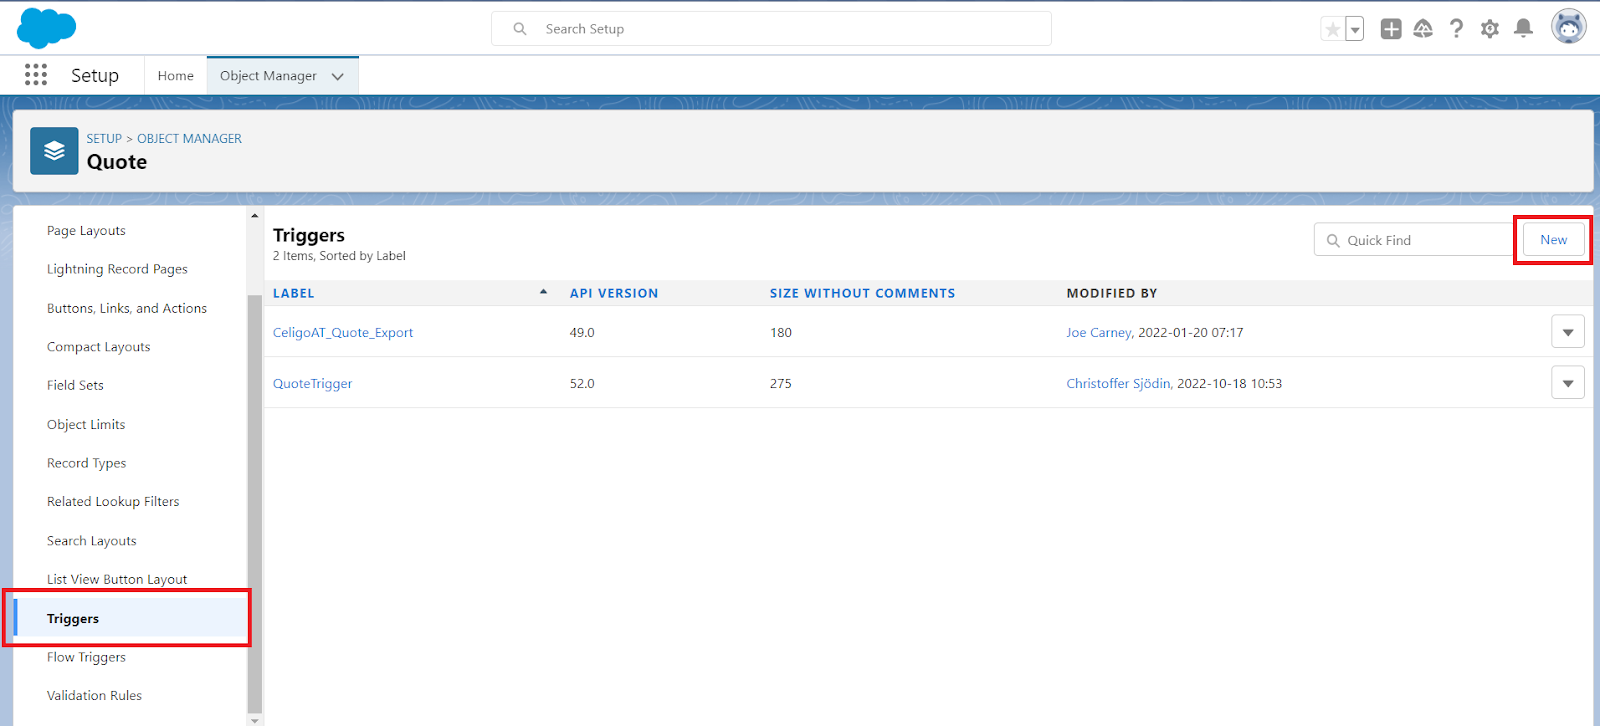
- Log in to your salesforce account, Goto Setup -> Object manager select the object you need to fetch data in real-time. This will be the sObject type you selected on the celigo export
- On the left side of your object manager, you can find an option name Triggers . Create a new trigger by clicking the new button on the above right corner
- This will take you to a page where you can configure your apex trigger
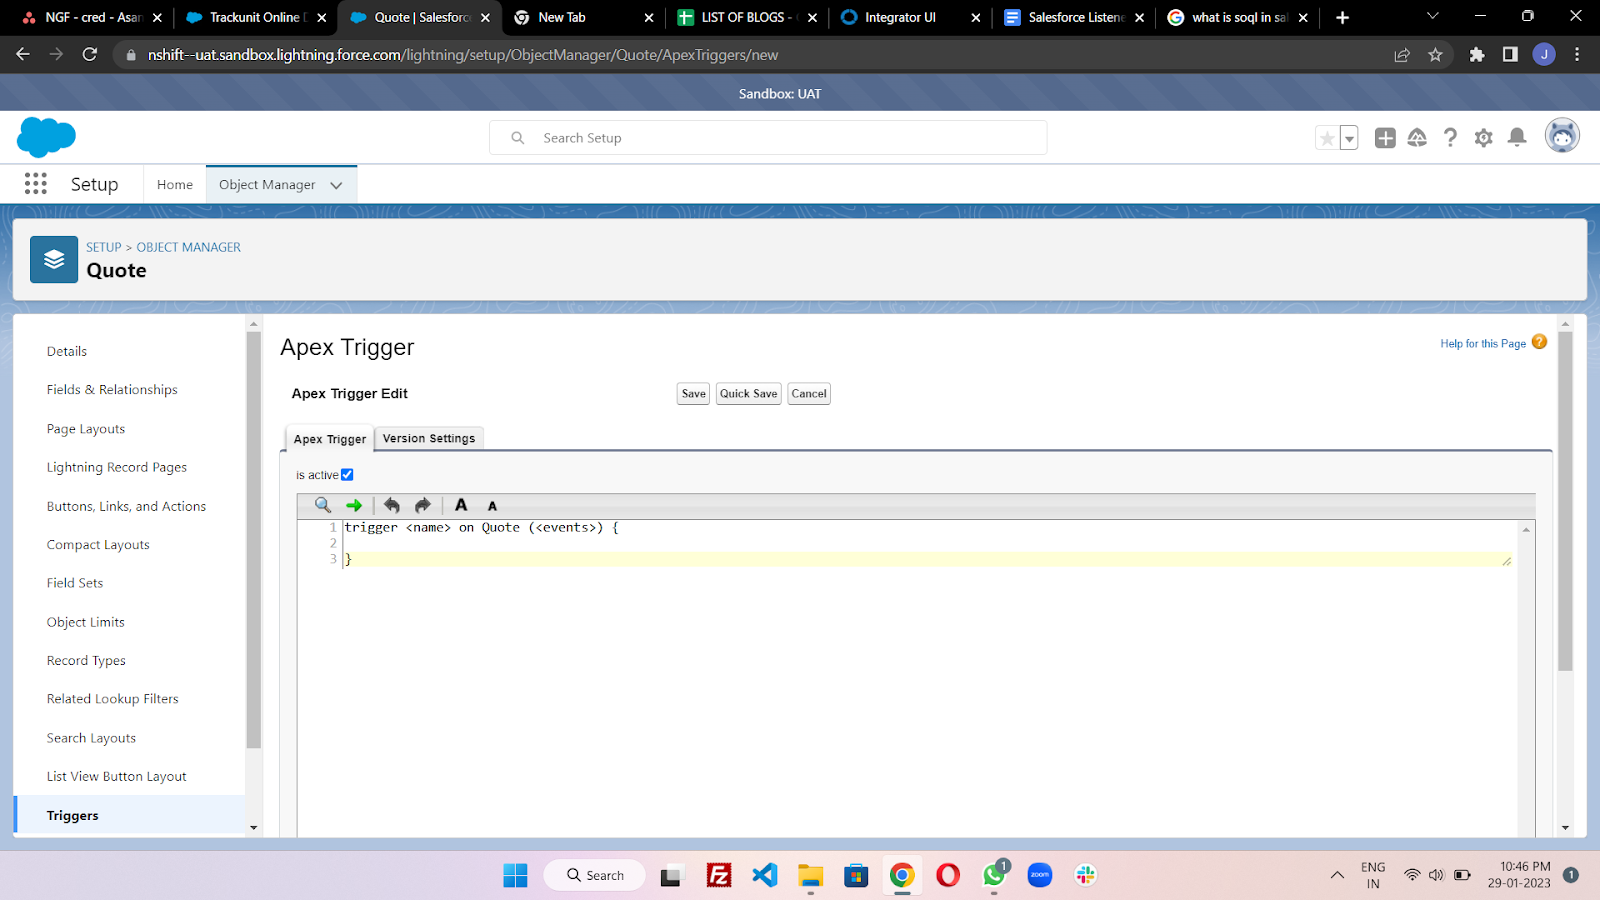
Copy the code from your Required trigger field in celigo, and paste it into the apex trigger code section. Replace <name> tag with the name you wish to give for your trigger. You can update the code to include additional validations and criteria. Once you filled up all the necessary information, save the Trigger